A FARO® Flash Scan is comprised of a Focus Premium low-resolution scan and a simultaneous high resolution 360 Ricoh Z1 Pano image. The data is combined/processed in SCENE (offline workflow) or Sphere (online workflow) resulting in a hybrid "Flash Scan" – a color point cloud with approx. 23 million points per scan.
To use FARO Flash you will need the following:
- Focus Premium Scanner (with firmware 7.2.0.12090 or greater)
- Not available on Focus Core or legacy Focus Scanners (Focus M, S, etc.)
- Ricoh Theta Z1 (with firmware 2.10.3 or greater)
- PanoCam Mount (see the PanoCam Quickstart Guide for installation instructions. Or for more detailed instructions, see the PanoCam chapter in the Accessories Manual for the Focus Laser Scanner)
- FARO Stream App (the FARO Stream App can be downloaded directly from: Stream - Apple App Store | Stream - Google Play)
- FARO Flash Extension Subscription
- FARO Sphere account - Flash extension licensing is done through FARO Sphere, so to use the FARO Flash feature with a Focus Premium scanner the user must have at least a free FARO Sphere Base account and a valid FARO Flash extension license
- SCENE 2023 or greater (for offline processing)
Activating FARO Flash
- Open the Stream app.
-
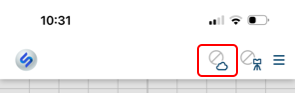
Connect your phone/tablet to the internet to first establish a Sphere connection for Flash license activation of the Focus Premium scanner. Tap the top cloud icon and then log into your FARO Sphere account and choose your workspace to retrieve the FARO Flash license information.
- Disconnect from Sphere. Then connect Stream to Focus scanner. For more information see: Connecting to the Focus Premium and Focus Core Scanners via the Stream App
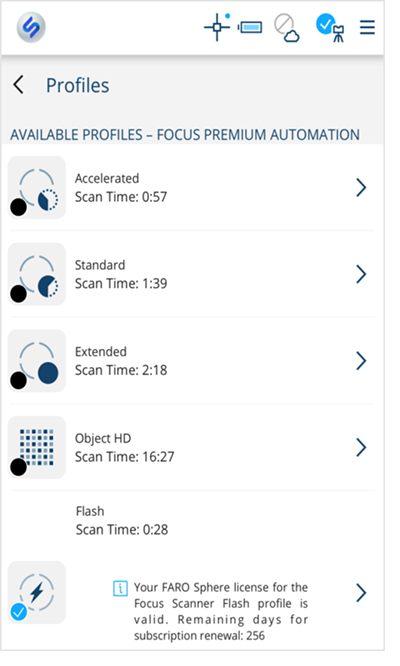
After a successful login to your FARO Sphere account the license information is now available to the Stream app, and a new "Flash" scan profile will be added to the Profiles list. Stream will show the offline license expiration date in the profile list. The offline license is renewed each time you log into Sphere.
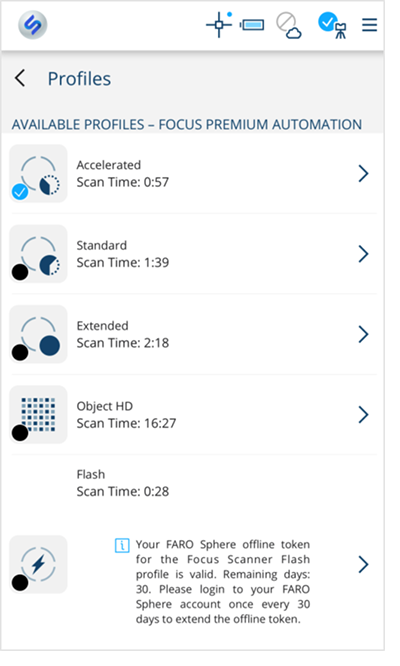
After activating the license you can use FARO Flash without a connection to Sphere via a temporary offline license (temporary offline token) which will expire after 30 days from your last login to Sphere.
Valid License
Offline Token
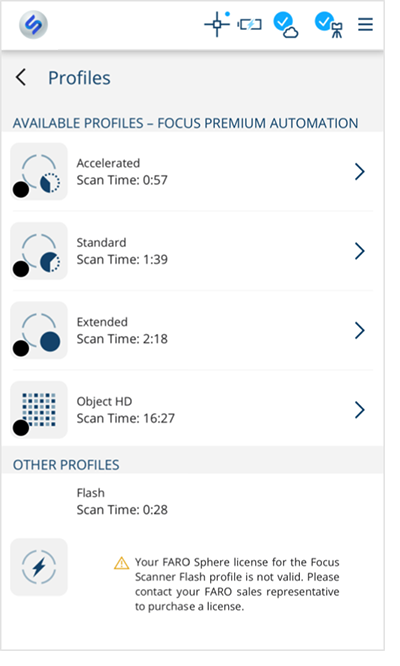
If no valid license is detected, a message will be displayed on the Profiles page within the Stream app.
You cannot use FARO Flash if the license is expired or invalid.
License Not Detected
Using FARO Flash
Performing a Flash Scan is the same as any other scan using Stream. For a Flash scan, be sure to select the Flash Profile from the Profiles screen.
Flash Profile Settings - The Flash scan profile uses a fixed set of scan settings:
-
- 1/4 2x scan with 10 sec. pan-axis rotation
- With PanoCam, 1 Low Noise picture
- All sensors off (GPS, Inclinometer, Altimeter, Compass)
- Only a rough value for inclinometer and compass is captured
- Filter on (Clear Contour and Sky)
- Distance range Normal
Within the Stream UI, Flash scans are denoted by the  icon.
icon.
 |
Flash Scan | 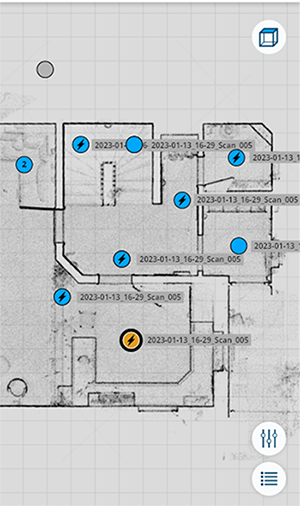 |
 |
Standard Scan | |
 |
Last Registered Scan |
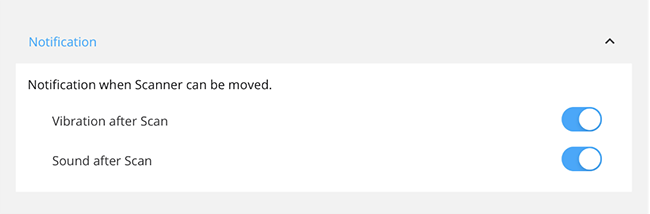
Scan Notifications
Scan Notifications are used to indicate when a scanner can be moved to the next position. This notification can eliminate confusion as to when it is safe to move the scanner. Scan notifications are a general setting and available for all scans.
- Navigate to Settings > Scan Notifications.
- Choose how you want to be notified. You can select a vibration (if your device supports vibration) or a sound notification.
PanoCam Setup/Calibration
You can start and perform a Panorama Camera Calibration scan from the Profile Settings page.
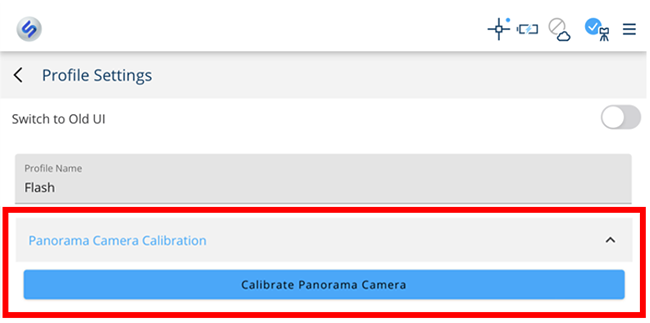
To colorize a Panoramic Camera scan, you must capture at least one initial Panoramic Camera full system calibration scan with the same Ricoh Theta Z1 camera that is used for the scan project. It is recommended to perform a Panoramic Camera full system calibration scan for all larger projects. Please see more details in the Stream User Manual chapter: Panoramic Camera Calibration.